

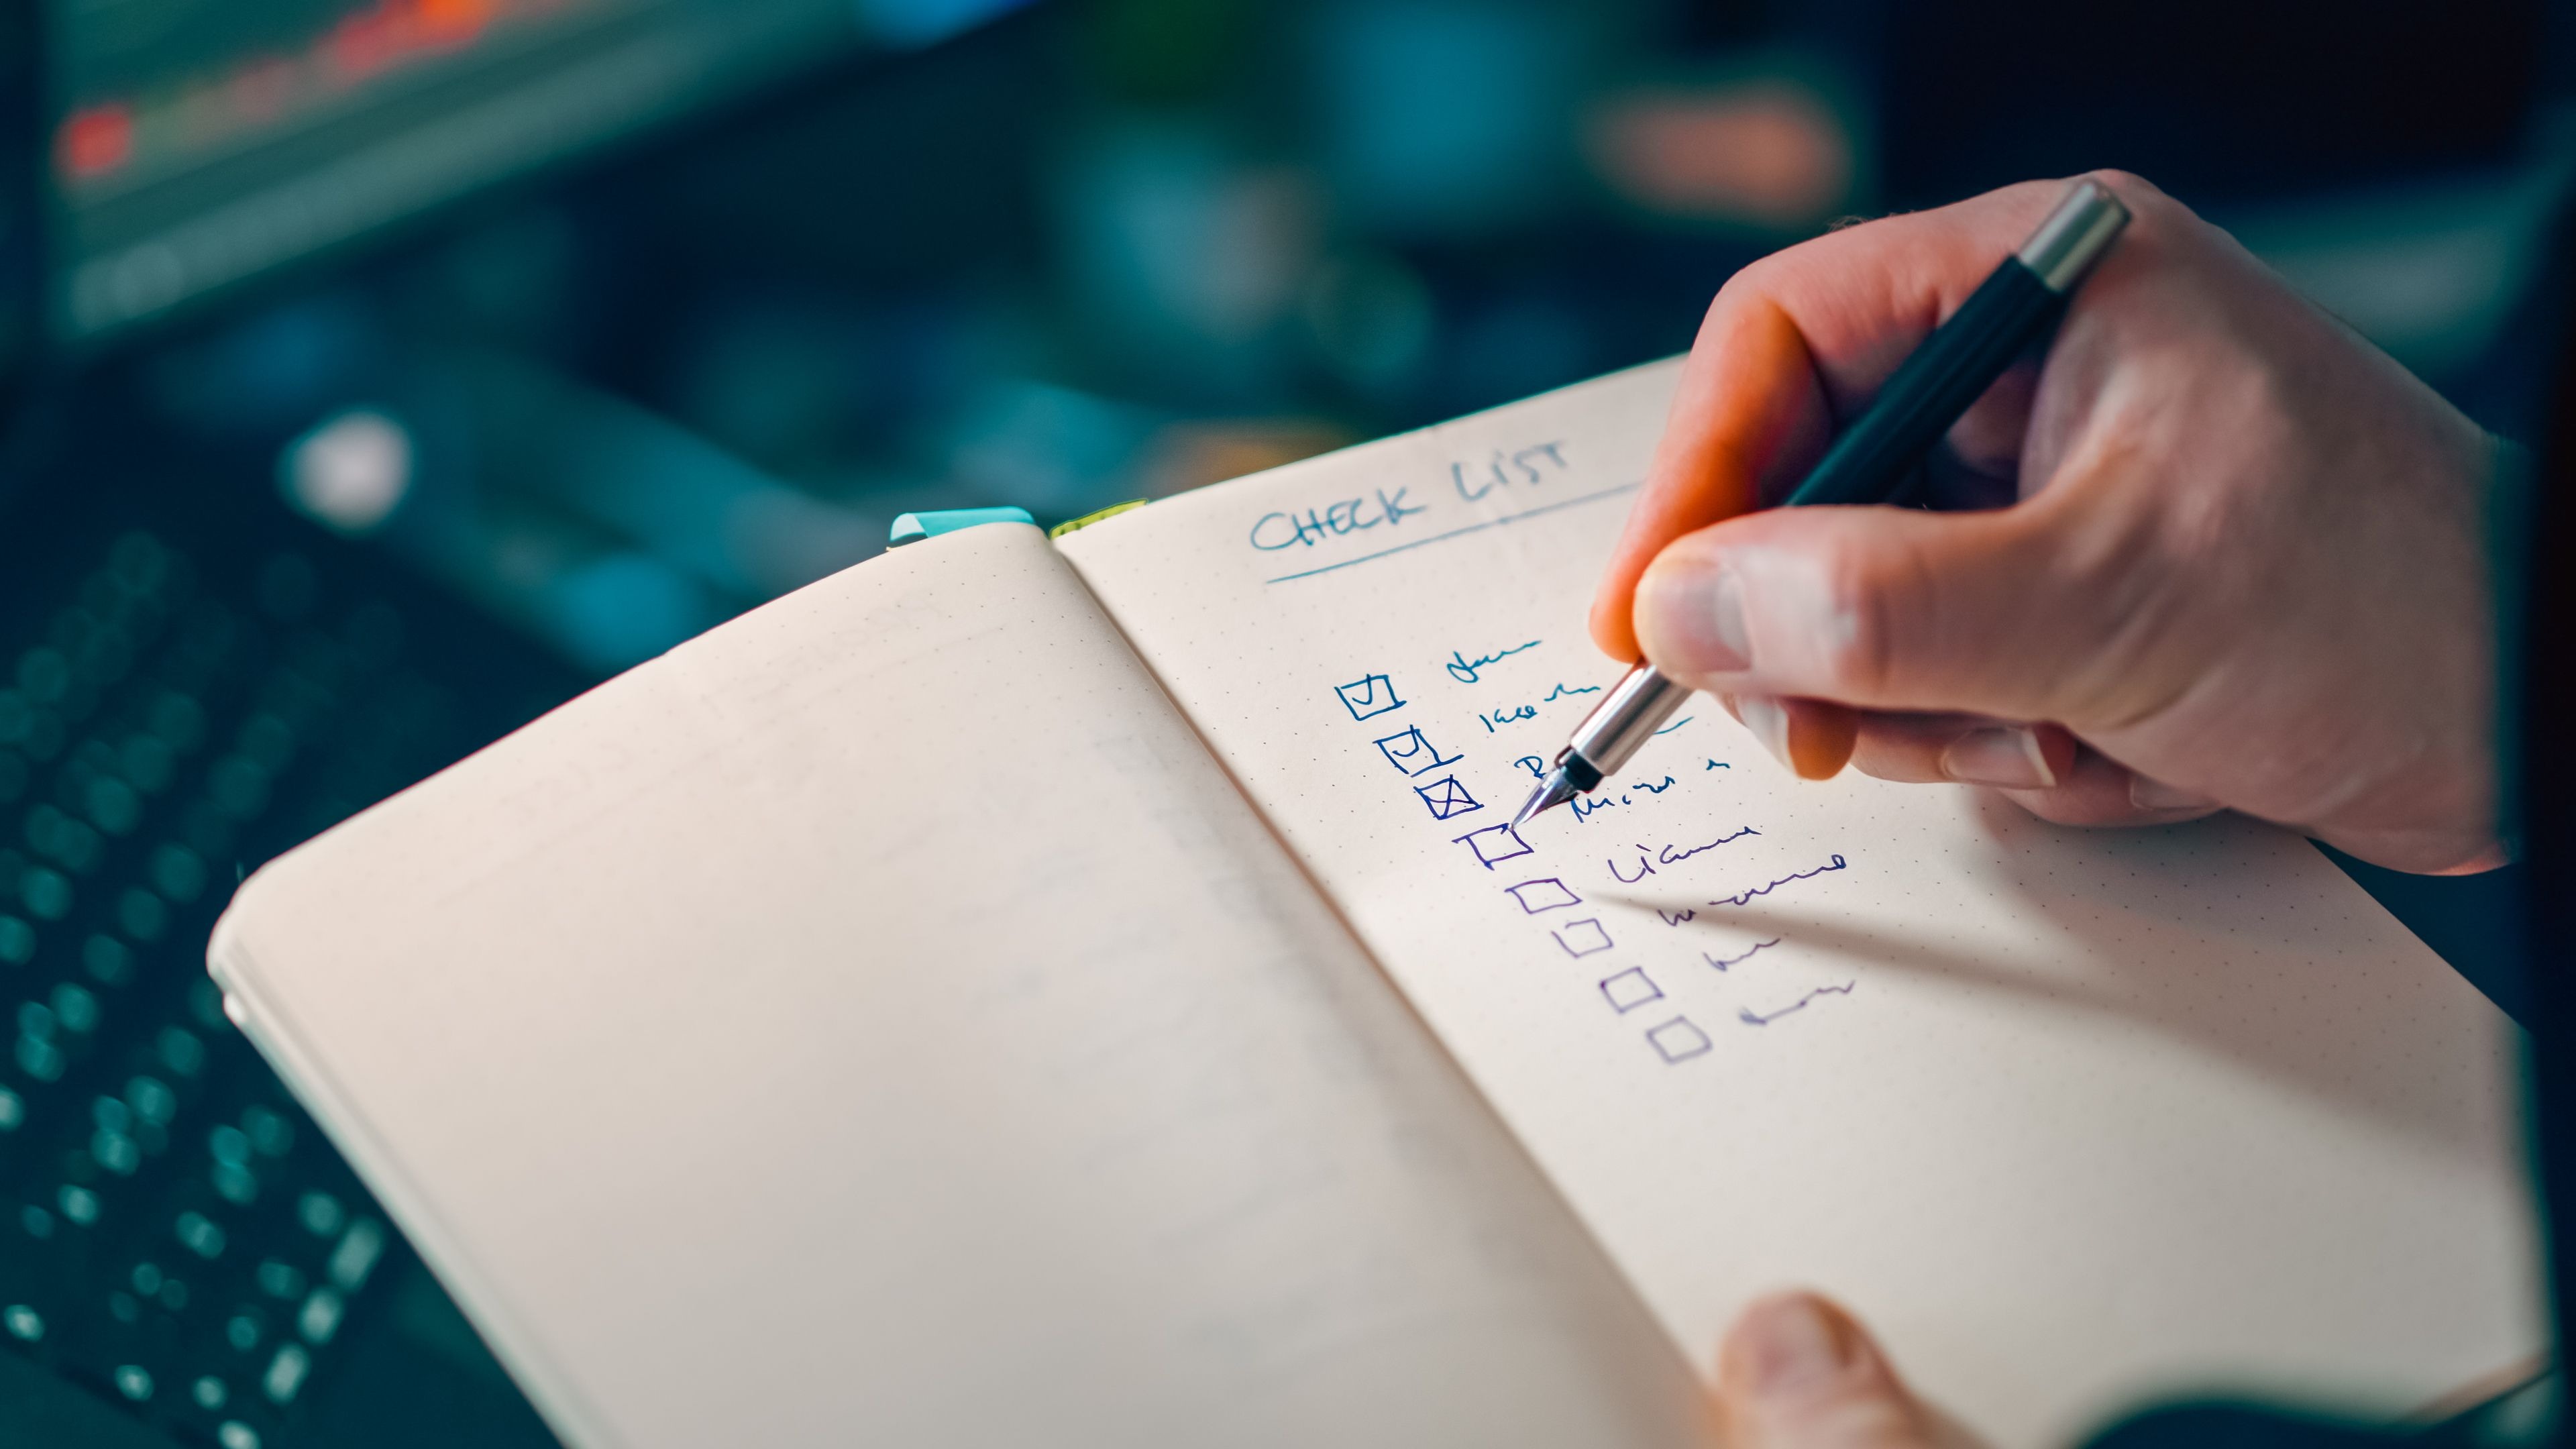
A Pre-Delivery Inspection (PDI) is the comprehensive operational audit conducted by an RV buyer before signing final financing documents or sales contracts and taking legal possession. When you are buying an RV, this inspection represents your single greatest point of financial leverage.
Once delivery paperwork is signed, your leverage drops precipitously. If defects emerge after handover, your repair requests shift into standard dealership warranty service backlogs, which routinely stretch from several weeks to months. A true PDI takes between 2 to 4 hours minimum and requires running every major system under full utility load. It is an exhaustive operational stress test, completely distinct from a rushed 30-minute dealership orientation or sales walkthrough.
Here is how to execute a functional PDI, the diagnostic tools to bring, and how to protect yourself with a binding "We-Owe" addendum before finalizing the purchase.
Delivery Day Setup: The Live-Fire Testing Mindset
A visual walkthrough is never sufficient. Transit vibration from factory delivery combined with assembly oversights causes frequent defects on both brand-new units and pre-owned rigs. You must evaluate the coach under real operational stress.
Before you begin inspecting, require the dealership to stage the unit with full hookups:
- Dedicated Shore Power: A true 30-amp or 50-amp electrical receptacle (refuse a standard 15-amp household extension cord adapter).
- Pressurized City Water: A continuous freshwater supply hooked up directly to the city inlet.
- Sewer Hookup: A dump hookup so holding tanks can be filled to capacity and drained.
- Filled Propane Tanks: Mounted and pressurized LP tanks ready to operate dual-fuel systems.
Essential DIY Inspection Tools
Bring an inexpensive testing kit to verify circuits, seals, and temperatures independently:
- GFCI-Equipped Receptacle Tester: Verifies three-prong 120V AC outlets for proper wiring, open grounds, reverse polarity, and GFCI breaker tripping.
- Digital Multimeter: Measures 12V DC resting battery voltage and active converter charging output.
- Infrared Thermometer: Reads instant air conditioning Delta-T splits and appliance compartment temperatures.
- High-Lumen Flashlight: Illuminates underbelly chases, frame rails, subfloors, and plumbing cabinetry.
- Ladder: Required for inspecting roof membrane seams and Dicor lap sealant up close.
Step 1: Slide-Out Rooms and Mechanical Systems
Slide-out mechanisms carry immense weight and require precise alignment. Never accept a unit with the slide rooms already extended when you arrive.
- Cycle the Rooms Repeatedly: Extend and retract every slide-out room multiple times from start to finish. Listen for motor binding, grinding, or uneven synchronization across the mechanism.
- Audit Wiper and Bulb Seals: When extended, ensure external rubber wiper seals flip outward completely to shed water. When retracted, verify the exterior bulb seals compress evenly against the sidewall to block driving rain and road spray.
- Check Clearances and Flooring: Crawl underneath the extended slide boxes to check for torn underbelly fabric or worn slide-box bottoms. Inside, check the linoleum or flooring along the entire slide-travel path to confirm rollers or skis are not gouging floor surfaces.
Step 2: Pressurized Plumbing and Holding Tanks
Plumbing leaks frequently hide at PEX crimp fittings inside low cabinets or behind false panels. Test the plumbing under two separate pressure modes.
1. City Water Pressure Test
Connect to pressurized city water and open every sink faucet, indoor and outdoor shower head, and toilet flush valve. Inspect every P-trap, shut-off valve, and low-point drain under continuous flow. Visually check for weeping moisture around PEX connections and water pump fittings.
2. 12V Water Pump and Fresh Tank Test
Disconnect the city water hose, fill the onboard freshwater tank, and switch on the 12V water pump. Allow the pump to prime the plumbing lines and pressurize the system until it shuts off. Leave the system pressurized without running faucets for 15 to 20 minutes. If the water pump cycles intermittently on its own, an unseated valve or hidden pressurized leak exists in the lines.
3. Water Heater and Tank Monitor Verification
- Water Heater Operation: Fire the water heater on both 120V electric and LP propane modes. Verify clean gas burner ignition, consistent flame, and rapid heating.
- Tank Monitor Sensors: Add water to both the gray and black tanks to check that the interior tank-level monitor panel updates accurately, then verify that the waste gate valves operate smoothly without binding or leaking when dumped.
Step 3: Electrical Systems (120V AC and 12V DC)
Electrical faults present immediate safety and operational hazards. Systematically verify both high-voltage AC and low-voltage DC infrastructure.
Electrical PDI Test Flow:
[120V Shore Power]  --> Check all outlets with GFCI tester (verify polarity & ground)
[Converter/Charger] --> Multimeter check: Battery voltage climbs when plugged in
[12V Battery Bank]  --> Multimeter check: Resting DC voltage under 12V loads alone
- 120V AC Outlets: Test every interior and exterior outlet using your GFCI circuit tester. Confirm that no outlets have reversed hot/neutral lines or open grounds, and press the test button to ensure GFCI breakers trip and reset instantly.
- Converter / Charger & Battery: Disconnect shore power and measure the resting 12V battery voltage using your multimeter. Plug the RV back into shore power and verify the converter/charger raises the voltage to supply a proper charging current.
- Life-Safety Detectors: Test the propane (LP) detector, carbon monoxide sensor, and smoke alarms to confirm they power on and pass self-tests.
Step 4: HVAC and Dual-Fuel Appliances
Do not take delivery without verifying heating, cooling, and refrigeration under operational load.
- Air Conditioning (A/C): Run the air conditioning unit on maximum cooling for at least 15 minutes. Use your infrared thermometer to record the intake air temperature and the cold supply register temperature. You must see a 15 to 20 degree Fahrenheit difference (Delta-T split).
- Furnace: Set the wall thermostat above ambient temperature to trigger the furnace. Confirm the blower starts, the sail switch detects airflow, the burner ignites, and warm air outputs through all floor ducts before the unit completes its shutdown cycle cleanly.
- Refrigerators: Because 12V compressor and absorption refrigerators take several hours to cool, request that the dealership turn the unit on the day prior to your inspection. Measure the freezer and fresh food compartments with an infrared thermometer to ensure both compartments reach food-safe temperatures on both AC power and LP gas modes.
Step 5: Exterior Seals, Roof, and Running Gear
Seal breaches are the leading cause of structural rot and costly RV maintenance down the road. Never skip a comprehensive roof inspection.
Roof and Lap Sealant Inspection
Climb an exterior ladder to physically inspect the entire roof membrane. Examine every joint sealed with Dicor lap sealant—including around plumbing vents, skylights, roof vents, front and rear end-caps, and air conditioning gaskets. Look closely for voids, thin spots, cracking, or air bubbles. Any gap in lap sealant must be corrected before taking the rig home.
Running Gear and DOT Tire Date Codes
Tires on new RVs frequently age while sitting on assembly yards or dealer lots prior to sale. Inspect the four-digit DOT tire date code molded on the tire sidewall (for example, "2423" indicates manufacturing during the 24th week of 2023). Verify the rubber is fresh despite zero highway miles. Inspect the running gear, emergency breakaway switch cable, 7-pin trailer connector, and hitch equipment (such as a weight distribution hitch).
Handling Defects: The "We-Owe" (Due Bill)
When you discover defects during your PDI, evaluate whether they warrant halting delivery or documenting them formally before releasing payment:
- Refuse Delivery for Major Defects: If the RV exhibits structural water leaks, slide misalignment, cracked frames, or failed major appliances, do not sign delivery paperwork. Leave the RV at the dealership until repairs are completely resolved.
- Execute a Binding "We-Owe" Addendum: For minor cosmetic issues or ordered replacement trim pieces, never rely on oral commitments made during negotiations. Require management to execute a formal, written "We-Owe" form (also known as a Due Bill). This binding document must itemize each issue, define who pays for parts and labor, and establish a firm completion deadline before you sign the final purchase contract.
Your signature on the final delivery slip releases funds and surrenders your leverage. Protect your purchase by validating that every single system functions before you drive away.
Pre-Delivery Inspection FAQs
What is the difference between a dealer walkthrough and a Pre-Delivery Inspection (PDI)?
A dealer walkthrough is typically a brief 30-to-60-minute feature demonstration led by a salesperson. A true PDI is a buyer-led operational stress test lasting 2 to 4 hours that verifies every slide mechanism, plumbing circuit, high- and low-voltage electrical component, appliance, and roof seal under real utility hookups before sales contracts are signed.
How long should an RV pre-delivery inspection take?
A proper PDI requires 2 to 4 hours depending on the size and complexity of the RV. If dealership personnel attempt to rush the process, assert your right to complete a functional audit before signing delivery acceptance paperwork.
What is a "We-Owe" or Due Bill form?
A "We-Owe" (Due Bill) is a legally binding addendum to the purchase contract signed by dealership management. It explicitly itemizes all uncompleted repairs, missing parts, or promised adjustments that the dealership agrees to fulfill after purchase paperwork is finalized.